What You Need to Know Before Building
Building your first gaming PC might seem intimidating, but it’s essentially adult LEGO with cables. Modern components are designed to fit together in specific ways, making it nearly impossible to plug something in wrong. The biggest challenge isn’t technical skill – it’s choosing the right parts for your budget and gaming goals.
Your graphics card will consume 40-60% of your total budget and determines your gaming performance more than any other component. The CPU handles game logic and physics, while RAM ensures smooth multitasking. Storage affects load times, and your power supply keeps everything running safely. Understanding these roles helps you allocate your budget wisely.
Most first-time builders underestimate assembly time. Plan for 4-6 hours, including cable management and initial setup. Having the right tools matters: a magnetic-tip screwdriver set, anti-static wrist strap, and good lighting will save you frustration.
Step 1: Set Your Budget and Performance Goals
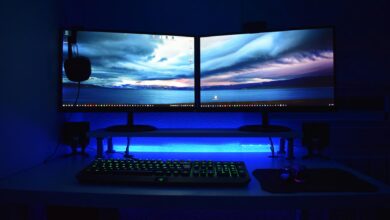
Determine your target resolution and frame rate before shopping. A solid 1080p gaming build starts around $800, while 1440p systems typically run $1,200-1,500. 4K gaming demands $1,800+ for consistent performance.
Consider what games you’ll play most. Competitive esports titles like Counter-Strike and Valorant run well on mid-range hardware, while AAA games like Cyberpunk 2077 and Microsoft Flight Simulator demand premium components. Factor in peripherals – monitor, keyboard, mouse, and headset can add another $300-600.
Research current pricing trends. Graphics card prices fluctuate significantly based on cryptocurrency mining demand and new releases. AMD and NVIDIA typically launch new generations every 2-3 years, making older cards more affordable.
Step 2: Choose Your Graphics Card First
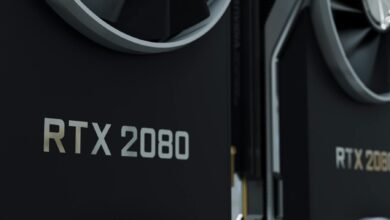
Start with your graphics card since it drives your entire build’s direction. For 1080p gaming, the RTX 4060 or RTX 4060 Ti handle modern games at high settings. The RTX 4070 provides excellent 1440p performance and makes sense for high-refresh gaming monitors.
Consider ray tracing support if you want enhanced lighting effects in supported games. NVIDIA’s RTX cards generally offer better ray tracing performance, while AMD’s RX series provides strong value for traditional rasterized gaming.
VRAM matters for future-proofing. Games increasingly use more than 8GB at high settings, making 12GB cards like the RTX 4070 attractive for longer-term use. Avoid 4GB cards for new builds – they’re already showing limitations in current titles.
Step 3: Select Compatible CPU and Motherboard
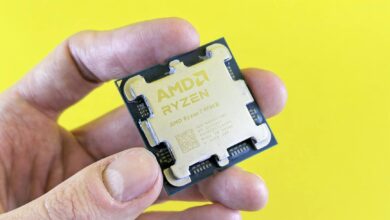
Match your CPU to your graphics card’s performance level. Pairing a high-end GPU with a budget CPU creates bottlenecks, wasting money. For RTX 4060-class cards, AMD’s Ryzen 5 7600 or Intel’s Core i5-13400 provide excellent balance.
Choose your motherboard socket carefully. AMD’s AM5 platform supports current Ryzen 7000 series processors and promises future CPU compatibility. Intel’s LGA1700 socket works with 12th and 13th generation processors but may require updates for newer chips.
Motherboard features matter beyond CPU support. Ensure adequate RAM slots, USB ports, and expansion slots for your needs. Built-in WiFi and Bluetooth add convenience. B-series chipsets offer good value, while X-series provide enthusiast features like overclocking support.
Step 4: Choose RAM and Storage
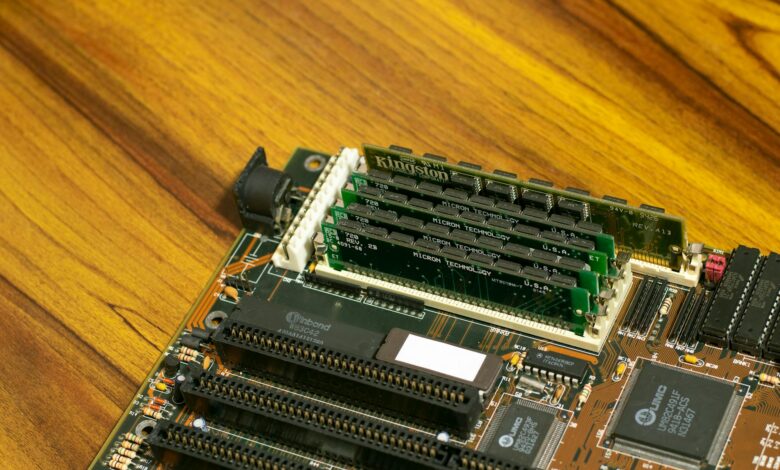
Modern gaming systems need 16GB of RAM minimum. 32GB provides headroom for content creation and heavy multitasking but isn’t necessary for gaming alone. Choose DDR5 for new builds – it’s becoming standard and provides better performance than DDR4.
RAM speed affects performance in some games. DDR5-5600 or DDR5-6000 kits offer good price-to-performance ratios. Avoid the cheapest kits – they often use lower-quality memory chips that may cause stability issues.
For storage, start with a 1TB NVMe SSD as your primary drive. PCIe 4.0 drives offer faster speeds but cost more than PCIe 3.0 options. The performance difference in gaming is minimal currently. Add a larger SATA SSD or traditional hard drive later if you need more storage space.
Step 5: Pick Your Power Supply and Case
Your power supply should exceed your system’s peak power draw by 20-30%. Online calculators help estimate requirements, but quality matters more than raw wattage. Stick to reputable brands like Corsair, EVGA, or Seasonic. 80 Plus Gold certification indicates good efficiency.
Modular power supplies cost more but simplify cable management. You only connect cables you actually need, reducing clutter inside your case. Semi-modular units provide a middle ground – essential cables are permanently attached while optional ones are removable.
Case selection affects airflow, noise levels, and upgrade potential. Mid-tower cases suit most builds and provide room for larger graphics cards. Ensure your chosen case supports your motherboard size and graphics card length. Front-panel USB-C connectivity is becoming standard and worth considering.
Step 6: Assembly Process
Start by reading your motherboard manual thoroughly. Install the CPU, RAM, and M.2 SSD while the motherboard is outside the case – it’s much easier to access. Handle components by their edges and avoid touching pins or connectors.
Install the motherboard’s I/O shield in your case first – forgetting this step means removing the entire motherboard later. Mount your power supply with the fan facing down if your case has bottom ventilation, or facing up if not.
Connect power cables before installing the graphics card. The 24-pin motherboard power, 8-pin CPU power, and PCIe power connectors for your graphics card are essential. Double-check all connections before powering on.
Step 7: Initial Setup and Testing
Your first boot should reach the BIOS/UEFI interface. Enable XMP/DOCP profiles to run your RAM at rated speeds – it won’t do this automatically. Set your boot priority to your storage drive if installing Windows fresh.
Install Windows, then update your motherboard chipset drivers and graphics card drivers. Use Windows Update for basic drivers, but download the latest graphics drivers directly from AMD or NVIDIA for best gaming performance.
Run stress tests to verify stability. Prime95 tests CPU stability while FurMark stresses your graphics card. Monitor temperatures during testing – CPU temperatures should stay below 80°C and GPU temperatures below 85°C under load.
Key Takeaways
Building a gaming PC requires patience more than technical expertise. Take your time, double-check connections, and don’t force anything that doesn’t fit easily. Modern components are remarkably robust, and most “build failures” stem from loose connections rather than damaged parts.
Budget allocation matters more than individual component choices. Spending 40-50% on your graphics card, 20-25% on CPU and motherboard, and distributing the remainder across other components typically yields the best gaming performance.
Don’t chase the absolute latest technology unless you have unlimited budget. Last-generation components often provide 90% of the performance at 70% of the cost. The PC gaming market moves quickly, but a well-balanced system will serve you well for 4-5 years.
Consider starting with a solid foundation and upgrading over time. Your initial build doesn’t need to be perfect – adding more RAM, storage, or even a better graphics card later is straightforward. While gaming laptops offer convenience, desktop PCs provide superior upgradeability and value for serious gaming.
Most importantly, enjoy the process. Building your first PC creates a deeper understanding of how computers work and the satisfaction of creating something with your hands. When you boot into your first game on hardware you assembled yourself, that moment makes all the research and careful assembly worthwhile.
Frequently Asked Questions
How much should I budget for my first gaming PC?
Plan $800-1,200 for 1080p gaming or $1,200-1,500 for 1440p performance, plus peripherals.
Is building a PC difficult for beginners?
Modern PCs are designed for easy assembly – components only fit one way and most issues come from loose connections.