What You Need to Know
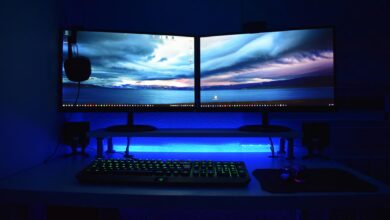
Multiple monitor gaming setups have become the standard for serious PC gamers, content creators, and professionals who demand maximum screen real estate. Whether you’re streaming on Twitch, managing Discord while gaming, or diving deep into strategy games that benefit from expanded views, a multi-monitor configuration transforms how you interact with your PC.
The technology has matured significantly. Graphics cards now handle multiple displays with ease, Windows supports multi-monitor configurations natively, and monitor prices have dropped to make dual and triple setups accessible. However, setting up multiple monitors involves more than simply plugging in extra screens. You’ll need to consider hardware compatibility, cable management, display positioning, and software optimization to create a seamless experience.
Modern games increasingly support multi-monitor gaming, with titles like Microsoft Flight Simulator, racing simulators, and strategy games offering native ultra-wide or multi-display modes. Even when games don’t support multiple monitors directly, having additional screens for streaming software, chat applications, and system monitoring creates a more efficient gaming environment.

Step 1: Check Your Graphics Card Capabilities
Your graphics card determines how many monitors you can connect and at what resolutions. Most modern graphics cards from NVIDIA and AMD support at least three displays, with high-end models supporting four or more. Check your GPU’s specifications to confirm the maximum number of simultaneous displays and supported resolutions.
NVIDIA RTX 4000 series cards typically support four displays at 4K resolution, while AMD RX 7000 series cards offer similar capabilities. Older cards may be limited to two or three displays, or may require lower resolutions when driving multiple monitors simultaneously.
Examine the physical outputs on your graphics card. Modern cards usually include DisplayPort, HDMI, and sometimes DVI connections. DisplayPort generally offers the highest bandwidth and supports daisy-chaining compatible monitors, making it the preferred connection for multi-monitor setups. HDMI works well for most gaming scenarios, while DVI is being phased out but still functional for 1080p displays.
If your graphics card lacks sufficient outputs, consider DisplayPort hubs or active adapters. These devices can split a single DisplayPort connection into multiple outputs, though they may introduce slight latency or limit resolution options.
Step 2: Choose Your Monitor Configuration
Decide whether you want identical monitors or a mixed setup. Identical monitors create the most seamless experience, with matching colors, brightness levels, and bezels that align properly. This approach works best for gaming across multiple screens or professional applications requiring color accuracy.
Mixed configurations pair a high-refresh gaming monitor with secondary displays for productivity tasks. You might use a 240Hz gaming monitor as your primary display alongside standard 60Hz monitors for Discord, streaming software, or web browsing. This approach maximizes your gaming budget while providing useful secondary screens.
Consider physical space and desk setup. Three 24-inch monitors require approximately 72 inches of desk width, while two 27-inch monitors need about 48 inches. Factor in monitor stands, speaker placement, and cable management when planning your layout.
Resolution matching affects how content spans across displays. Monitors with identical resolutions create smooth transitions when moving windows between screens. Mismatched resolutions can cause scaling issues, though Windows handles this better than in previous versions.
Step 3: Plan Your Cable Management
Multiple monitors create significant cable clutter without proper planning. Count the cables you’ll need: power cables for each monitor, video cables from your graphics card, and potentially USB cables if your monitors include built-in hubs.
Measure the distances from your graphics card to each monitor position. Corner monitors may require longer cables than center displays. DisplayPort and HDMI cables longer than 6 feet can suffer signal degradation, so invest in quality cables or consider active signal boosters for longer runs.
Use cable management solutions before connecting everything. Desk grommets, cable trays, and adhesive cable clips keep wires organized and prevent tangling. Route power cables separately from video cables to minimize electromagnetic interference.
Label your cables at both ends. With multiple identical connections, troubleshooting becomes much easier when you can quickly identify which cable serves which monitor.

Step 4: Install and Connect Your Monitors
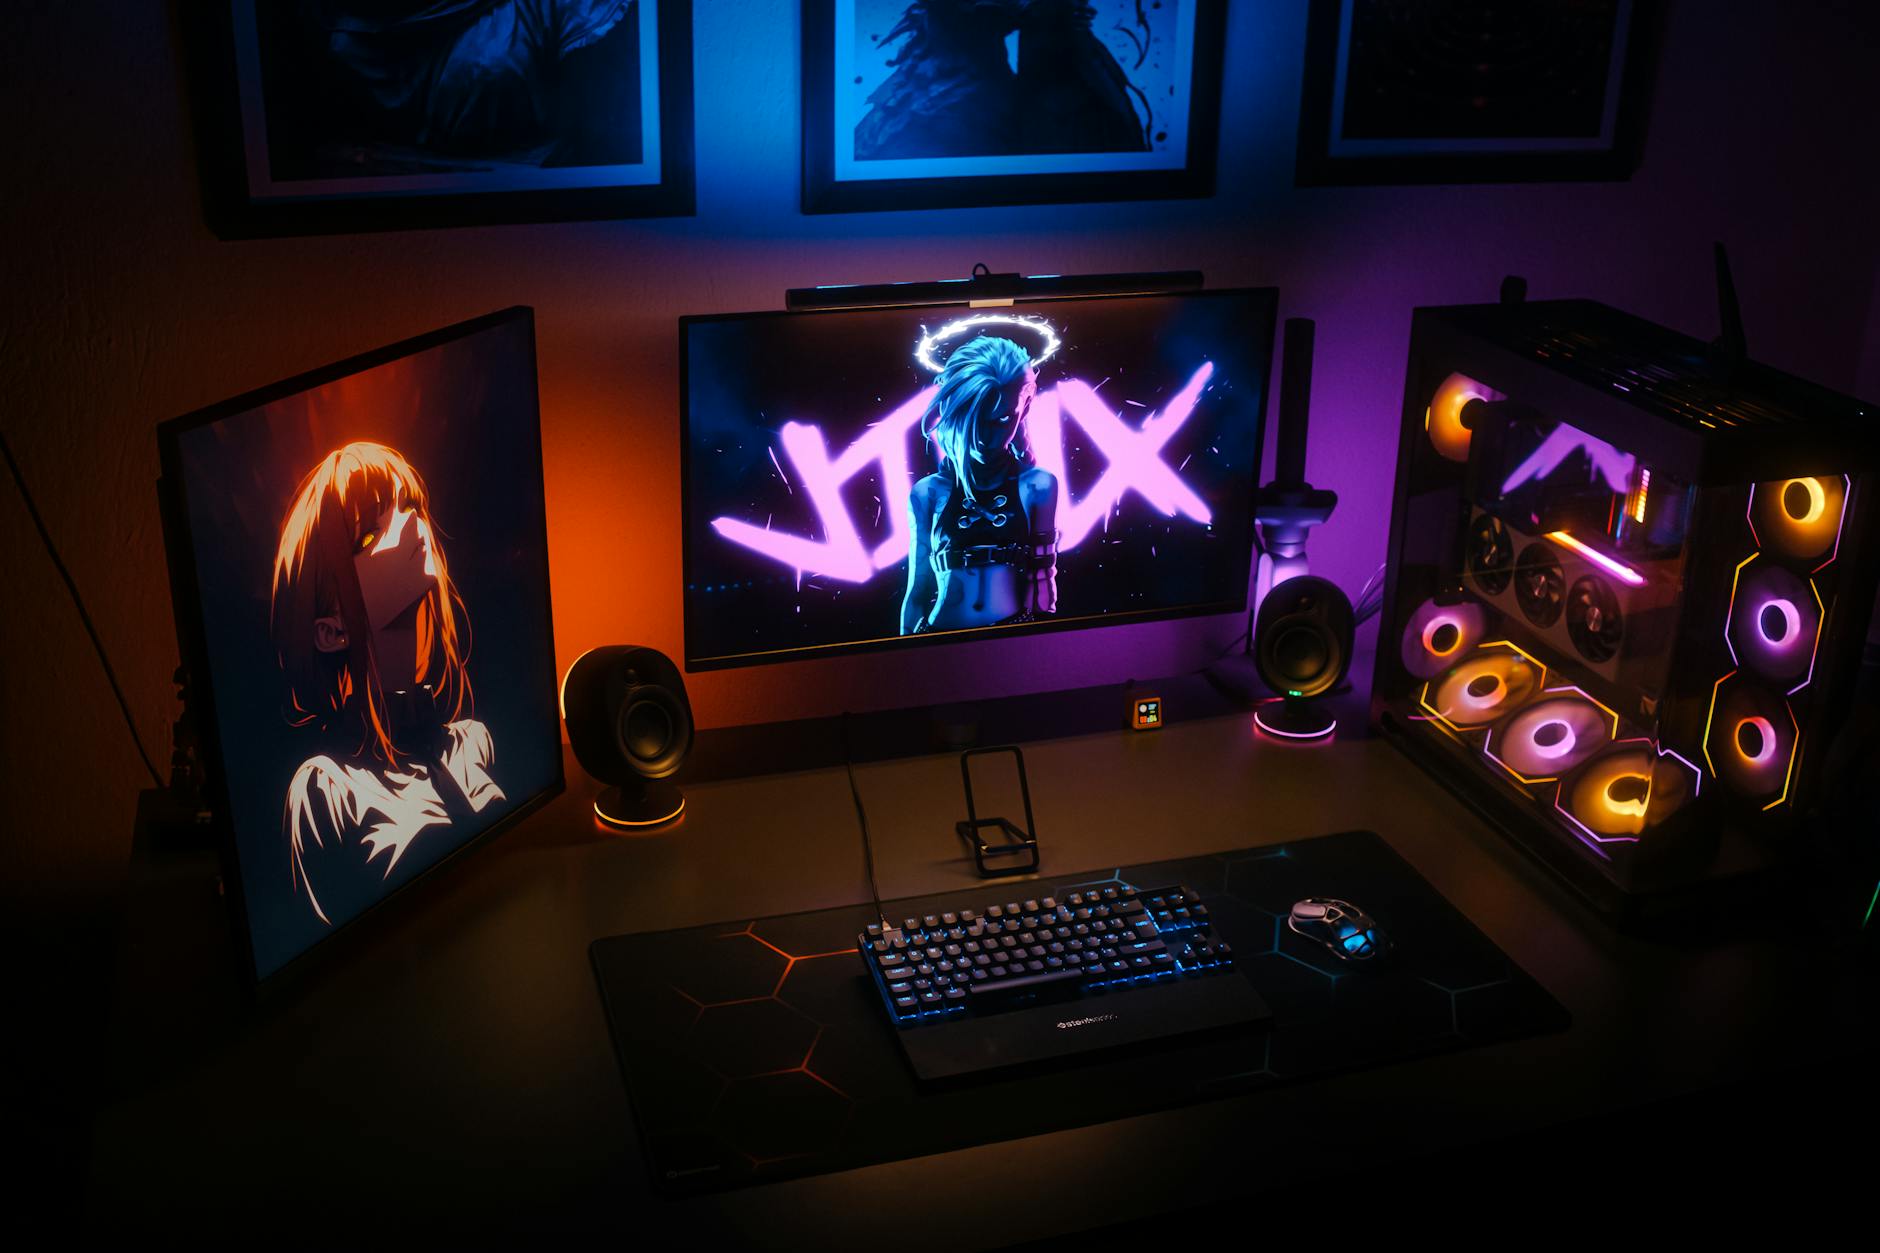
Position your monitors before making connections. Center your primary gaming monitor directly in front of your seating position. Angle secondary monitors slightly inward to reduce neck strain and create a more immersive viewing experience.
Connect monitors one at a time, starting with your primary display. Power on each monitor as you connect it, allowing Windows to detect and configure the display before adding the next one. This sequential approach prevents configuration conflicts and makes troubleshooting easier if issues arise.
Windows 11 and Windows 10 typically detect new monitors automatically and extend your desktop across all connected displays. If a monitor isn’t detected, check the video cable connection and ensure the monitor is set to the correct input source using its on-screen menu.
Use high-quality cables appropriate for your resolution and refresh rate requirements. For 1440p gaming at 144Hz or higher, use DisplayPort 1.4 or HDMI 2.1 cables. Standard HDMI cables may limit refresh rates at higher resolutions.
Step 5: Configure Windows Display Settings
Access Windows Display Settings by right-clicking on your desktop and selecting “Display settings.” Here you’ll see numbered boxes representing each connected monitor. Click “Identify” to see which number corresponds to each physical display.
Arrange the virtual monitor layout to match your physical setup. Drag the numbered boxes in Display Settings to mirror your actual monitor positions. This ensures your mouse cursor moves logically between screens and windows snap to the correct locations.
Set your primary display by clicking on the monitor you want as your main screen and checking “Make this my main display.” Your taskbar, desktop icons, and most applications will default to opening on this monitor.
Configure individual monitor settings including resolution, refresh rate, and scaling. For gaming monitors, ensure you’re using the maximum supported refresh rate. OLED gaming monitors may require specific settings to prevent burn-in while maintaining optimal gaming performance.
Step 6: Optimize for Gaming Performance
Multi-monitor setups can impact gaming performance, particularly when running games across multiple displays or when secondary monitors show active content. Configure your system to minimize performance impact while maximizing functionality.
Set secondary monitors to lower refresh rates if they’re only displaying static content like Discord or streaming software. A 60Hz refresh rate is sufficient for most productivity tasks and reduces GPU load compared to high-refresh secondary displays.
Configure game-specific settings for multi-monitor gaming. Some games support native multi-monitor modes, stretching the game world across all displays. However, most competitive games work better on a single primary monitor with secondary displays handling communication and streaming tools.
Use Windows Game Mode and configure your system for optimal gaming performance. This includes disabling unnecessary background applications and ensuring your primary gaming monitor receives priority for GPU resources. Consider optimizing Windows for maximum gaming performance to get the most from your multi-monitor setup.
Adjust power settings to prevent secondary monitors from interfering with gaming performance. Some users prefer to disable secondary displays during competitive gaming sessions, then re-enable them for streaming or productivity work.
Key Takeaways
Setting up multiple monitors for gaming requires careful planning and attention to hardware compatibility, but the results dramatically improve both gaming and productivity experiences. Modern graphics cards handle multi-monitor setups with ease, and Windows provides robust support for complex display configurations.
The key to success lies in proper preparation: checking your graphics card capabilities, planning your physical layout, managing cables effectively, and configuring Windows settings to match your usage patterns. Take time to optimize each monitor’s individual settings and consider the performance impact of your configuration.
Start with a dual-monitor setup if you’re new to multi-monitor gaming. This configuration provides most of the benefits while remaining manageable and budget-friendly. You can always expand to three or more monitors as your needs and budget grow.
Remember that the best multi-monitor setup balances your gaming requirements with productivity needs. Not every gamer needs three high-refresh displays, but most benefit from at least one secondary monitor for communication, streaming, or system monitoring. Focus on creating a setup that enhances your specific gaming experience rather than simply maximizing the number of connected displays.
Frequently Asked Questions
How many monitors can my graphics card support?
Most modern graphics cards support 3-4 monitors simultaneously, but check your specific GPU specifications for exact limits and resolution capabilities.
Do multiple monitors affect gaming performance?
Yes, but the impact depends on usage. Games spanning multiple displays reduce FPS, while secondary monitors showing static content have minimal impact.